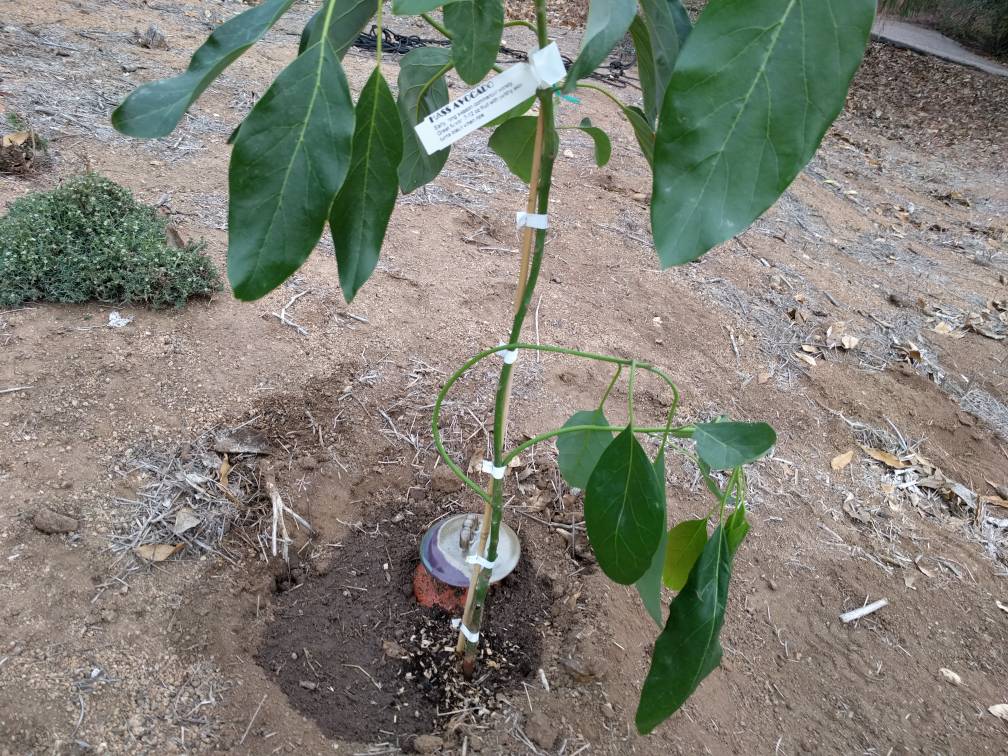
 This is a photo sent by a lovely buyer, who planted an Olla with each of her Avocado saplings. When we first started learning about Ollas, I was uncertain about using them with saplings. I was concerned that young trees' taproots would grow toward the Ollas, making the saplings less stable.
Turns out I was wrong, and that saplings greatly benefit from the water support of Ollas while still developing strong, stable taproots. In fact, Ollas have historically been planted with saplings. The idea was - and is - to give the saplings consistent, on-demand, water support while their young root systems are being established. Young trees will still send taproots to reach the moisture deep in the ground. Once deep strong roots are established, the tree (usually) does not need to rely on the Olla and the Olla can be removed. Here is what David Bainbridge with the Dry Lands Research Institute at the University of California-Riverside has to say, "Buried clay pot irrigation is recommended for dry orcharding in India and has proven to be very useful in tree establishment and revegetation. In Pakistan, the survival of tree seedlings irrigated with buried clay pots was 96.5% compared to 62% for hand watering and the buried clay pot irrigated seedlings were 20% taller." Did you get that? Saplings that were planted with Ollas were larger and were much more likely to survive than those that were overhead watered. He goes on to say, "Our trials of buried clay pot irrigation in the Colorado Desert near the Salton Sea suggest they have great potential for revegetation and orchards in the desert. After eight months all tree seedlings on buried clay pots in one trial were alive and growing well, while all of the trees irrigated with the same amount of water using basin irrigation had died." Further, " . . . After 8 months one of the plants was dug up to examine root distribution. Although several roots were wrapped around the pot, TWO DOMINANT TAP ROOTS WENT STRAIGHT DOWN TO CONSIDERABLE DEPTH." I cannot say enough about the brilliance of these simple clay pots, and of the people throughout the ages and around the world who use and understand them!
0 Comments
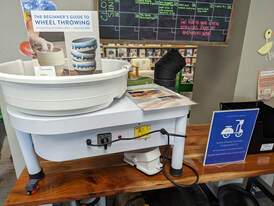 The other day my daughter sent me this picture from one of our local libraries. They have a tabletop potter’s wheel available to check-out in their non-traditional library section. She also spotted that they have E-bikes, scooters and a whole bunch of other fun things! We are so fortunate in our area to have many wonderful public libraries with unique and innovative ideas. One of our libraries has ukuleles and telescopes, another has a whole series of wooden toys. There is also a seed catalog and a bike park-cart that brings library books to our local parks during the summer. This picture brought me back to my early days when I first brought my own potter’s wheel to play around with. Back then, having a successful pottery business wasn’t something I ever considered possible for myself but I just loved playing with clay. I signed up for some classes at the local art museum and things grew from there. I used that trusty old kickwheel (bought from a printed newspaper classified ad) for at least twenty years. The rhythm of the wheel was soothing to kick and as my daughter grew from kid to tween to teen to adult she would stop down to my “office”in the basement to chat. Now, my grandkids are in their own pottery class at the Y and I can’t wait until they are old enough to help us out with our busy business. 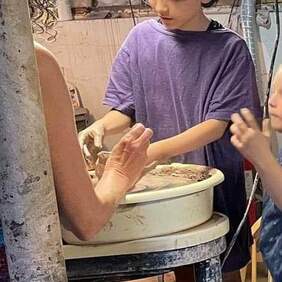
This is a great video from DW Global about farmers using ancient irrigation systems (ollas!) to water their olive trees in Tunisia. I love seeing some of these old ideas be brought back into favor as we are facing a global climate crisis.
 Hard as it is to believe, One Wintry Night Ollas is truly a home-based business. . . . All of our Ollas - and other pottery - are made here, in our basement studio. Though we would love to expand to a larger space, this seems to work for us.
As you may have guessed, as our business has grown, so have our electricity bills! We fire our kiln almost continuously, and the kiln accounts for well over half of our home electricity usage. We have always been concerned about the impact of our business on the environment, and have given a lot of thought to the materials we source for our clay and glazes, as well as our packaging, and our energy usage. For years, we have been participating in a renewable energy program (wind!) through our local utility, which helped us feel good about our pottery production. But this year we did something big . . . we decided that solar made sense for us, and had a 33 panel system installed! We couldn't be happier with it. The panels now generate the majority of the electricity we consume, and the rest of our energy is through the renewable energy program at our utility! So, when you buy an Olla from us, you can be assured that they have been sustainably made, and as we move into the future, will hopefully be a bit more affordable than they would have been without the panels. We are proud of how our Ollas are made, and want you to feel good about using them! 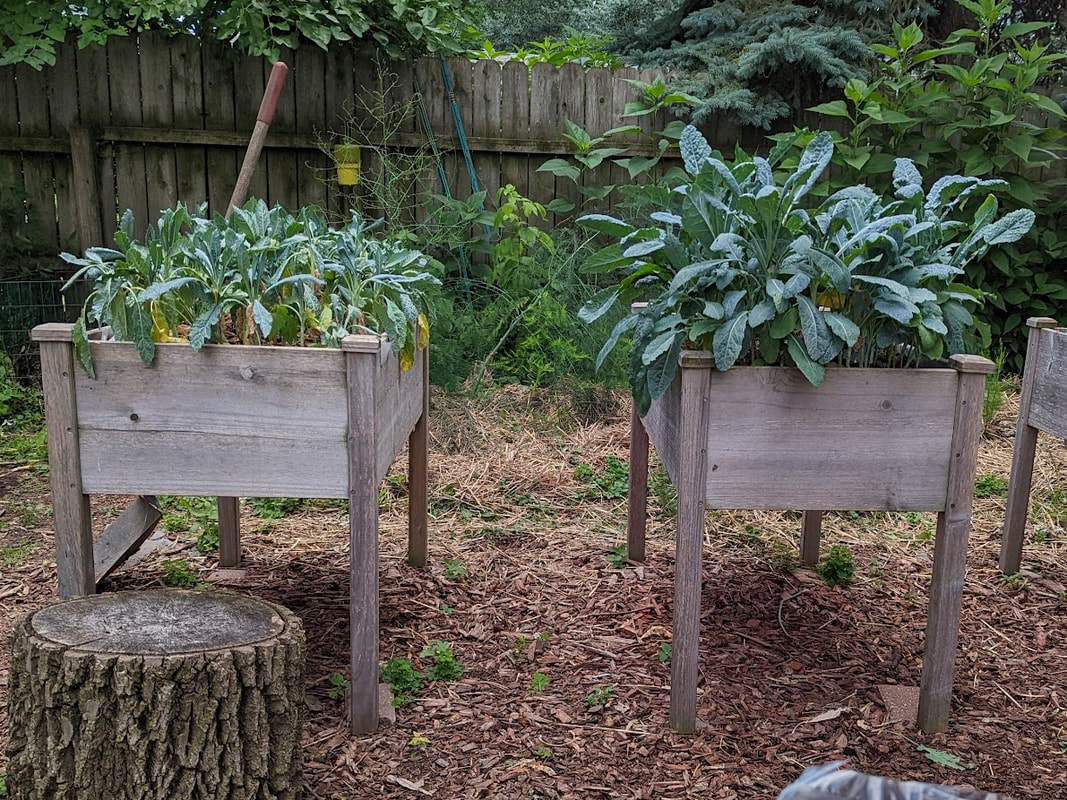 Can you tell which kale bed has Ollas?
Same seed packets . . . .planted the same day . . . .same soil/compost mix . . . same Wisconsin environment . . . but what a difference Olla water support made for our Lucinda Kale! Our pride is endless! 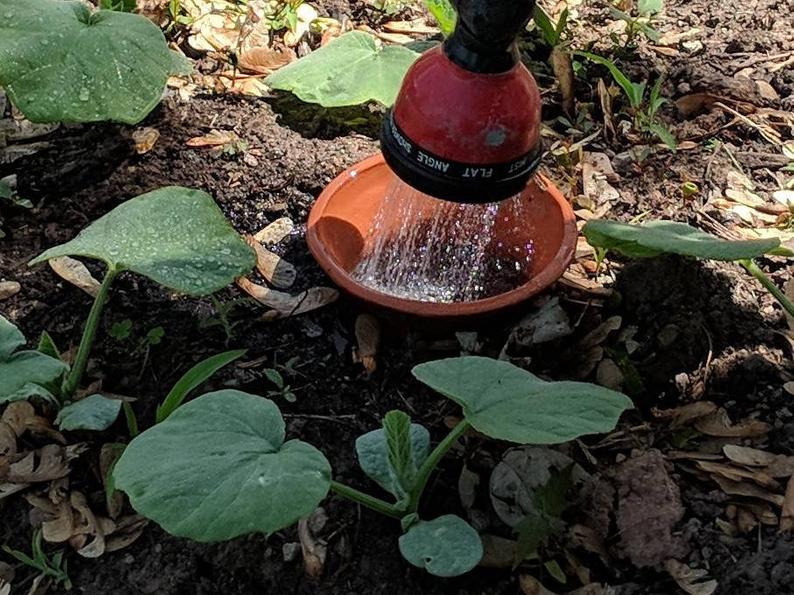 Not only are Ollas simple, less expensive, and more reliable . . . they can cut water use 90% below surface irrigation, and 50% below drip irrigation!
Here is what David A. Bainbridge of the Dry Lands Research Institute at the University of California-Riverside had to say: "Drip irrigation has helped increase water-use efficiency in gardens and farms, but drip systems are for the well-off. To work reliably, the drip emitters require regulated water pressure, pumps, electricity, automated controls, careful filtration, and regular maintenance. . . . I started off using drip systems in the desert but found that drip emitters were easily blocked with sediment and salt and that several insect species specialize in plugging the emitters. Worse yet, coyotes, rabbits, and other animals chewed on and destroyed my drip tubing even when it was dry and open water was available nearby." He goes on to say, "In a study of repellents to discourage animals from eating my plants in the California desert, all the drip tubing was snipped off before the plants were touched. . . . These vulnerabilities frustrated me and often led to complete failure of drip systems in remote or less developed areas. So . . . . Ollas may be more practical and robust, but how can they be so much (50%!) more efficient than drip? It has to do with where the water goes. When you overhead water or water with drip systems, you are saturating entire areas of soil. Much of the water will never make it to plants' roots before it evaporates or runs off. Ollas are different way of using water. Plants' roots seek out and will grow toward the Ollas. Strong root systems are encouraged as the roots go deep to gather around and under the Olla, eventually creating suction to pull water through the Olla's walls as needed, creating almost 100% water efficiency. As David A Bainbridge says, "These simple, sturdy systems work well and add value. They can dramatically increase plant survival, improve plant growth, and increase crop yield under the most severe conditions. They reduce water demand and help develop more robust plants that better tolerate drought." Give one a try . . . I think you are going to be amazed by these ancient, brilliant, simple pots! 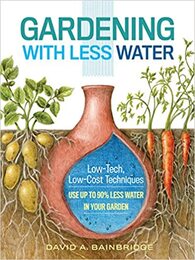 This book!. . . . I have read and re-read and re-read it! And yet, each time I pick it up, I find something new! A few nights ago it was this: "The lower cost and improved production efficiency of these systems can be critical for gardeners and farmers with little water, limited land, and limited resources. Water use can often be cut 90 percent below surface irrigation and 50 percent below drip (irrigation). .That was a big statement buried in the Intro chapter . . . and it is true. Ollas are both less expensive and more efficient than drip irrigation! This is why: Plants' roots seek out and grow toward the Ollas, and eventually create suction to PULL WATER THROUGH THE WALLS OF THE OLLA, as needed. In other words, while water will transfer through the walls of the Ollas to the surrounding soil, once the roots establish themselves around the Olla, the water doesn't even get this far. Very little water is wasted as the roots suck water through the walls of the Ollas. This makes them almost 100% efficient. A lovely buyer recently shared this photo of the roots that developed around one of her Ollas. LOOK AT THOSE ROOTS! These simple, brilliant, affordable pots have enabled people to grow food in extremely dry places for 1000s of years. I just love them! 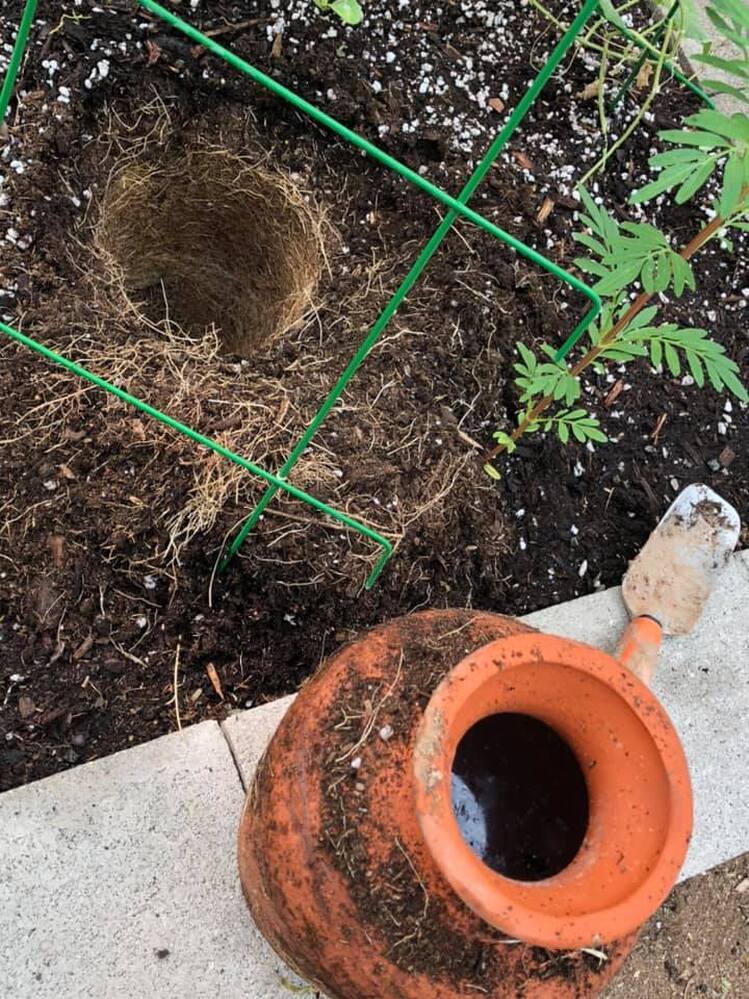 *** Thank you, Becky, for letting me use your photo!
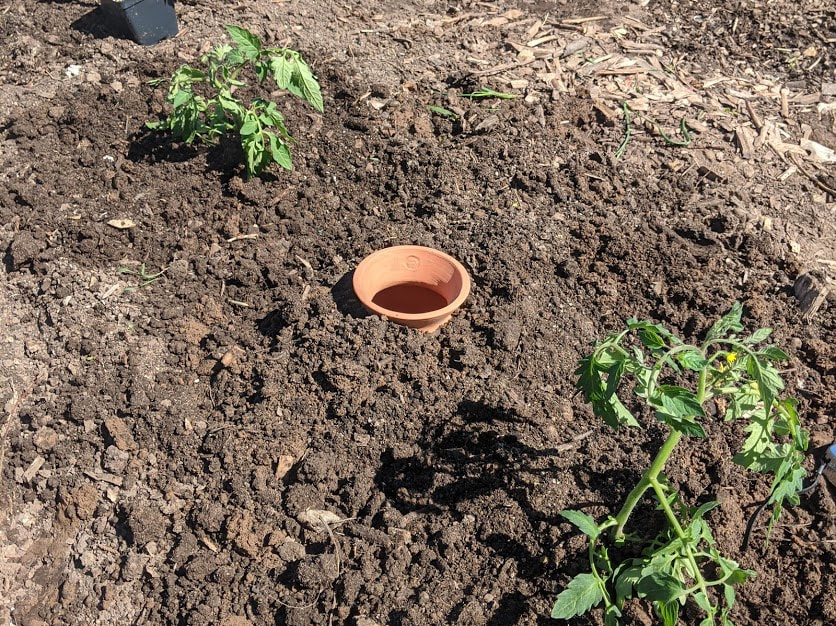
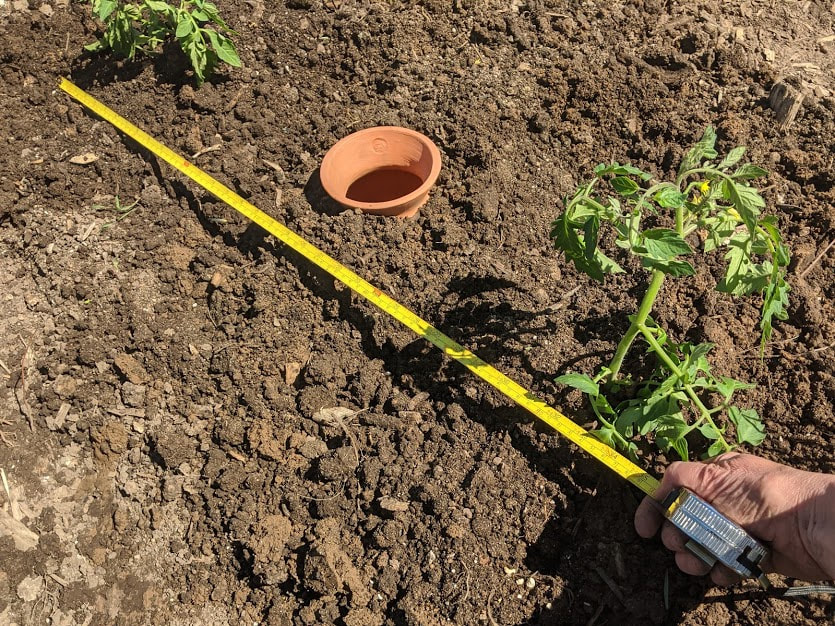
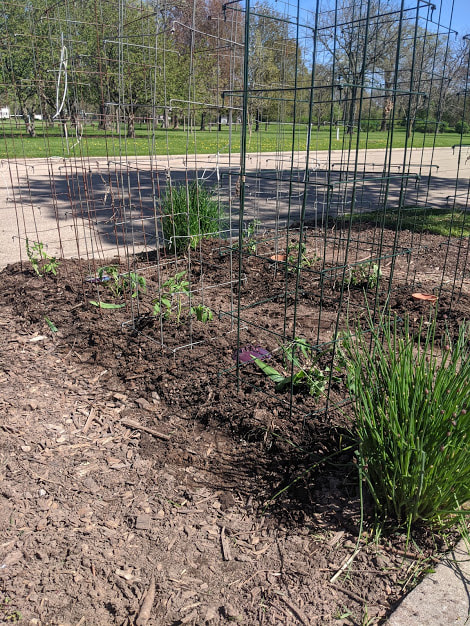
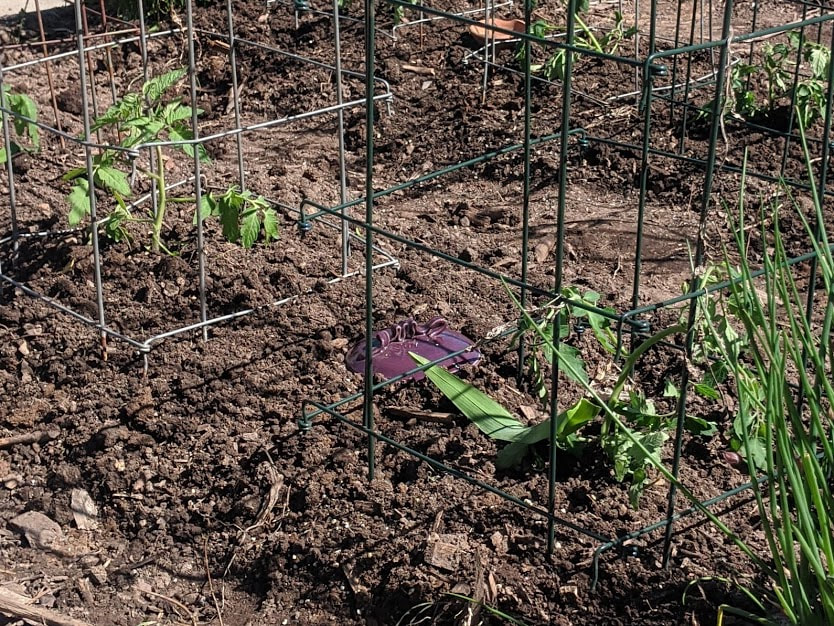
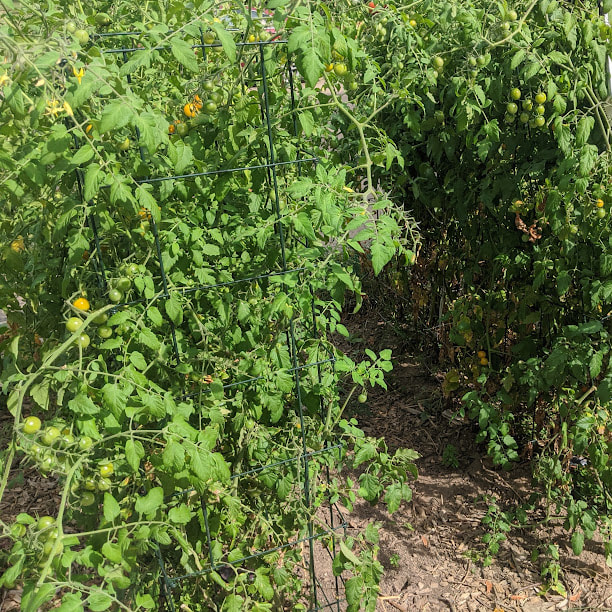
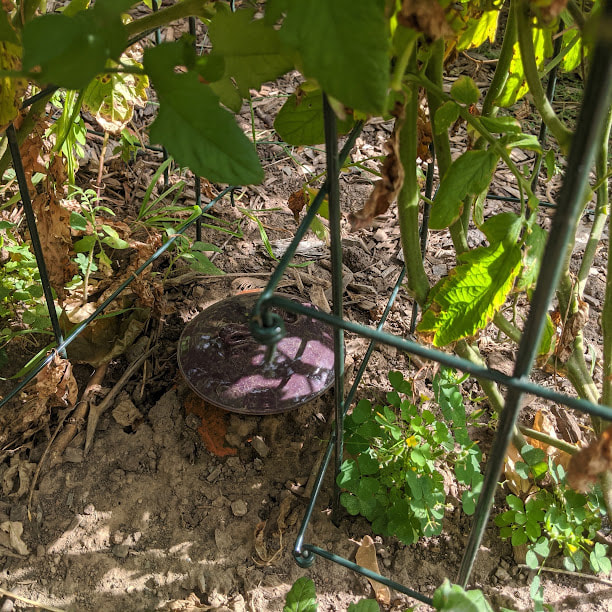
*** I'm not connected to sales of this book, but here is a link, if anyone is interested: https://www.amazon.com/Gardening-Less-Water-Low-Tech-Techniques/dp/1612125824/ref=sr_1_1?crid=2CH9YXZZF7IL9&dchild=1&keywords=gardening+with+less+water&qid=1601143861&sprefix=Gardening+with+less+w%2Caps%2C204&sr=8-1 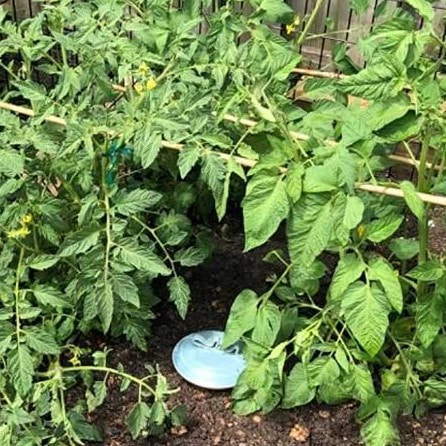 It goes without saying that Tomatoes love Ollas! They will thank you for the on-demand water source, and I think you will like the ease of filling them and water savings. People often ask how to plant with Ollas . . . and especially how far apart to space them. The answer is, 'it depends on what you are planting' . . . but a good rule of thumb is to draw a circle about 36" in diameter and plant your Olla in the center. Then plant your plants and seedlings within the circle. We planted our tomatoes yesterday, and I took some photos to show you what we do. This year, we are planting tomatoes in rows, with 2 Tomatoes sharing one Olla. Last year we planted wider rows with 3 or 4 Tomatoes sharing one Olla. This worked well, but our Tomatoes got so thick that it became hard to find the Ollas to add water. So this year, we went back to planting single file rows. We started by laying out the Ollas and Tomatoes . . . . 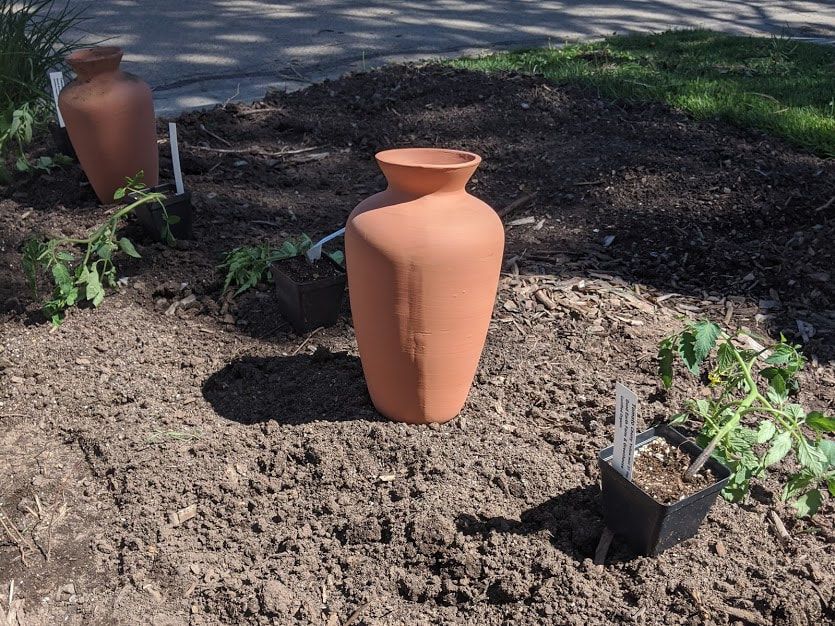 We planted our Tomatoes within the 36" circle, but really that is because our space is limited. Tomatoes can actually be planted a bit beyond the circle if you would like. Their roots will seek out the Ollas, even from a distance, and sort of create suction, pulling water through the walls of the Ollas as needed. (Once established, Ollas become almost 100% efficient . . . . this ancient technology is brilliant!) Our Ollas are 12" tall . . . to bury them up to their necks takes a deeper hole than you might expect. You don't have to bury them this deep . . . but they will be more efficient this way. Last, we add water and Tomato cages. We'll try to remember to post some photos later in the season . . . . as I said, last year we had trouble finding the Ollas as our Tomatoes grew in! We'll overhead water until our little tomato plants establish their roots ( a few weeks). After that, we just fill the Ollas. That's it! Happy Gardening Everybody! Update! These photos are from Aug 21, 2020 . . . Can you see the Ollas? These are some very happy tomatoes!
People sometimes ask how quickly an Olla transfers water though the walls of the pot. . . . . . . So yesterday I started an experiment. I've done this many times before, but this time I took photos! I filled an Olla to the very rim, then watched it. Within about 1/2 hour the walls of the pot were saturated with water, and it looked like the water inside the Olla was down about a cup. I left it for 24 hours, then came back to check on it. The Olla with water is on the right . . . the one on the left is bone dry for comparison. 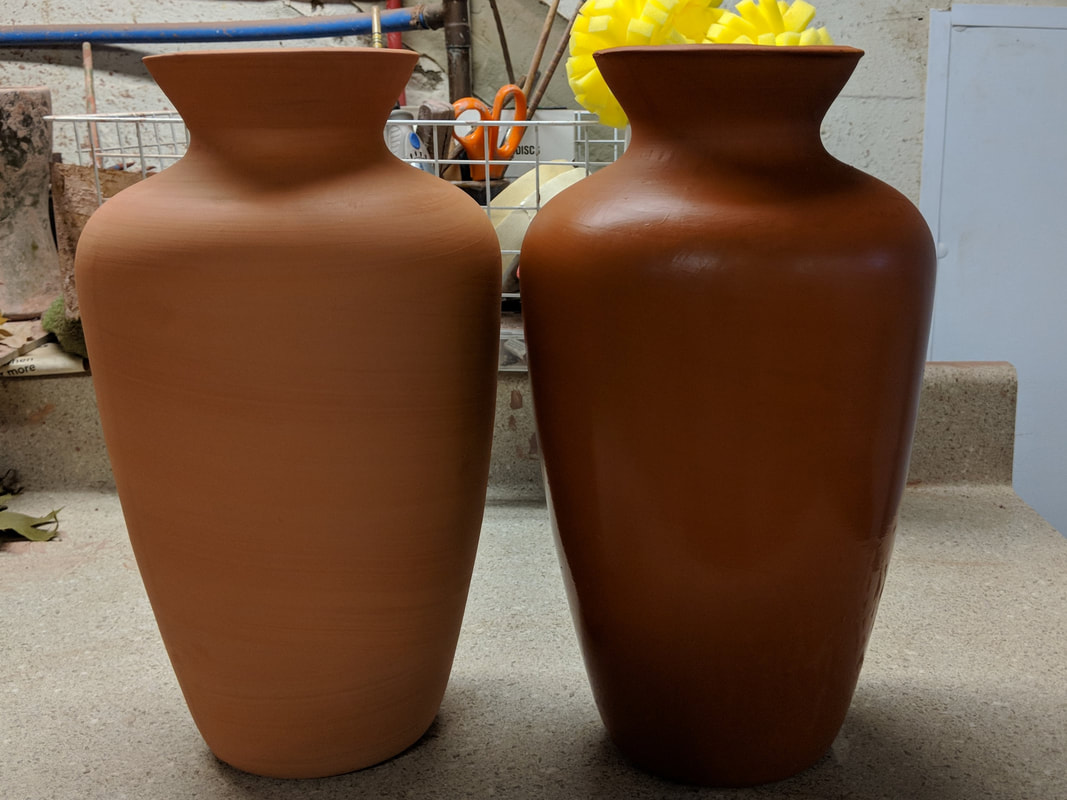 The Olla was sweating, and I was easily able to add 4 cups of water to replace the amount of water that had transferred through the walls of the pot.  So . . . the Olla transferred about a quart of water in 24 hours, sitting on the counter in our basement on a warm, somewhat humid October day in Wisconsin. But this is where it gets tricky . . . if it were a dry day it would have transferred water faster . . . and if it were raining (in our basement), it would have transferred slower. It works the same way when Ollas are buried in soil. If the soil is dry, the Olla will transfer water quickly. If it is saturated, it will transfer water slowly. And, if soil is REALLY saturated, water will actually transfer from the soil back into the pot.
And, even more interesting is that plants' roots grow toward the Olla, and eventually create suction to pull water through the walls of the Olla as needed, creating almost 100% efficiency. I love the simple brilliance of this ancient technology! The top of the soil stays dry (which discourages weeds), they save water, they save you time, and plants love them :) |
 RSS Feed